REVIEW · FISHERMAN S WHARF
San Francisco: Private City Tour by Electric Tuk-Tuk
Book on GetYourGuide →Operated by Lucky Tuk Tuk · Bookable on GetYourGuide
Golden Gate views, minus the steep climbs. This private electric tuk-tuk tour is a fun way to cover San Francisco without white-knuckling it up hills. I especially like the heated seats and warm blankets for foggy, wind-whipped days, and the live guide commentary that makes landmark photos feel informed, not random. One possible drawback: you’ll be limited to personal items that fit in your lap, and the route can shift with weather and traffic.
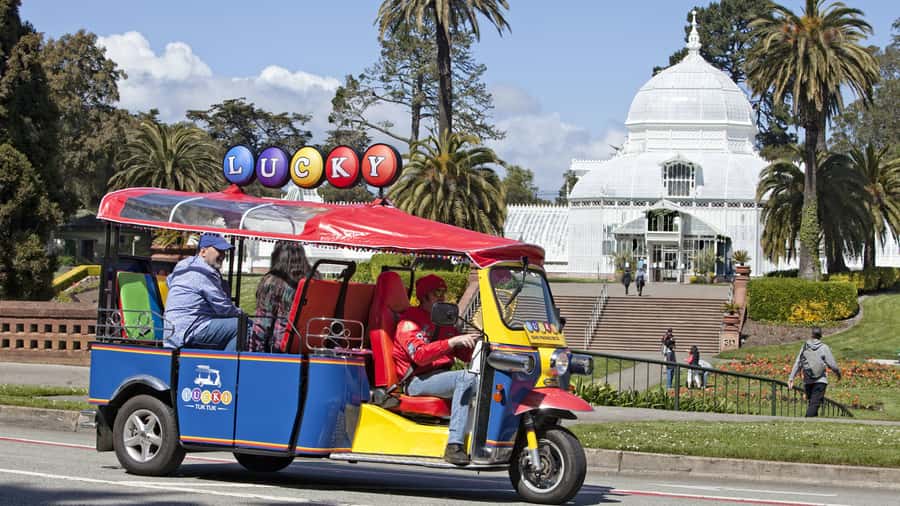
You’ll ride in an open-air, three-wheel tuk-tuk with lots of windows-on-the-world energy. The whole point is getting panorama views and quick photo stops at major sights, then moving on before your energy (or patience) runs out. Plan for a 2- or 3-hour window that’s designed as an orientation tour, not a slow museum crawl.
Because San Francisco weather can change fast, come layered. Bring comfortable shoes and a windbreaker, and expect the tour to run in fog and light rain. If you need room for strollers, walkers, or bulky luggage, this one isn’t set up for that.
In This Review
- Quick hits: why this tuk-tuk tour works so well
- How the electric tuk-tuk feels in real life
- Price and value: what you’re paying for
- Starting at Fisherman’s Wharf: the tour’s “west coast intro” moment
- Wharf stop reality check
- Hyde Street Pier and Maritime Park: where the city feels older
- Marina Green and the Alcatraz + bay angle
- Crissy Field for Golden Gate Bridge views
- Palace of Fine Arts and the “pretty pause”
- Marina district to the grand civic buildings
- Union Square: quick, central, and useful
- Chinatown and Dragon’s Gate: color, alleys, and sensory cues
- Downtown skyline moments: Transamerica to the Financial District
- Ferry Building and the Embarcadero: food, ferries, and main-street energy
- Exploratorium and the cruise ship terminal area
- Broadway Street and the tunnel: the ride gets more playful
- Lombard Street: the crooked street stop (traffic dependent)
- North Beach, Little Italy, and Washington Square Park
- Coit Tower and Telegraph Hill: classic views and a good final anchor
- Back toward the waterfront: Pier 39 and Ferry Arch
- The guide factor: live commentary makes the difference
- What I’d do differently to enjoy it even more
- Who this tour is for
- Should you book the electric tuk-tuk city tour?
- FAQ
- Where does the tour start and how do I find it?
- How long is the private tour?
- What areas does the tour cover?
- How many people fit in each tuk-tuk?
- What’s included in the price?
- Are museum or attraction entrance fees included?
- What weather should I plan for?
- What should I bring and wear?
- What’s not allowed on the tour?
- Is this tour accessible for wheelchairs or walkers?
Quick hits: why this tuk-tuk tour works so well
- Heated comfort on cold days so your ride stays pleasant even when the bay wind hits.
- Photo stops built into the route for landmark angles you’d miss rushing on foot.
- Hills handled for you in a modern open-air rickshaw, so you can focus on views.
- Expert live narration in English, including plenty of local color and practical context.
- A tight, efficient loop that mixes Fisherman’s Wharf, Chinatown, Union Square, and northside icons.
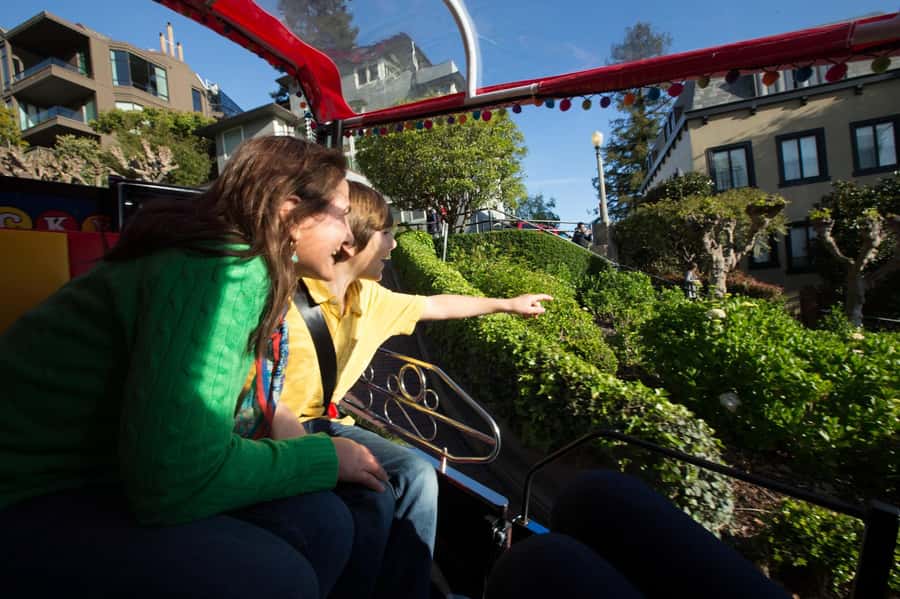
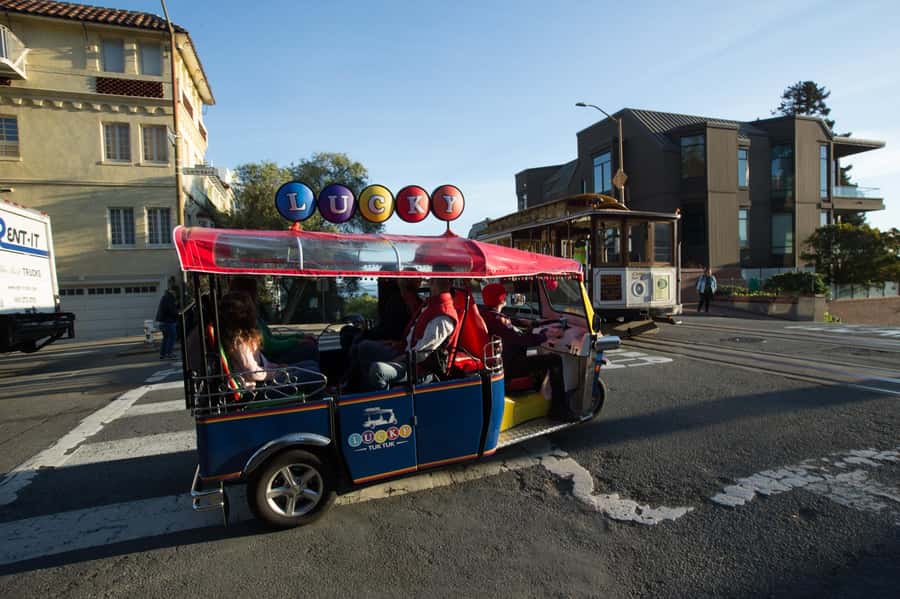
How the electric tuk-tuk feels in real life
The first thing you notice is how much you can see without sweating. San Francisco hills can drain you fast, even if you’re the fit type. In this tuk-tuk, you sit comfortably while the driver does the work, and you get a smooth ride with frequent chances to pull over for photos.
This is also not a quiet, head-down transfer. It’s a guided orientation tour with live commentary and stop-and-look timing. You’ll get sweeping views from points like the waterfront and the Marina area, then you’ll head inward to dense neighborhoods where driving and quick stops are the smarter choice.
One more detail that matters: the tuk-tuk fits a small group. Private tours are limited to 5 adult riders per tuk-tuk (6 if children are part of the group). That small size helps you feel like you’re on a real custom outing, not a cattle-car version of sightseeing.
Price and value: what you’re paying for
At $425 per group (up to 6 riders), this is not a budget city bus situation. You’re paying for three things: private guiding, a vehicle that handles hills and short photo stops, and comfort features like heated seating and warm blankets.
Here’s the practical way to judge value. If you’re traveling with 2–5 people who would otherwise need multiple rides, multiple tickets, and separate navigating time, this can become a solid deal. If you’re solo, you may prefer walking plus transit, but you’ll give up the guided timing and the panoramic “stop right where the view is” approach.
Also, remember what’s included and what isn’t. Entrance fees aren’t part of the price, so think of this tour as your hit-list and orientation. You’ll still have decisions to make after, like whether a museum stop is worth your extra time and money.
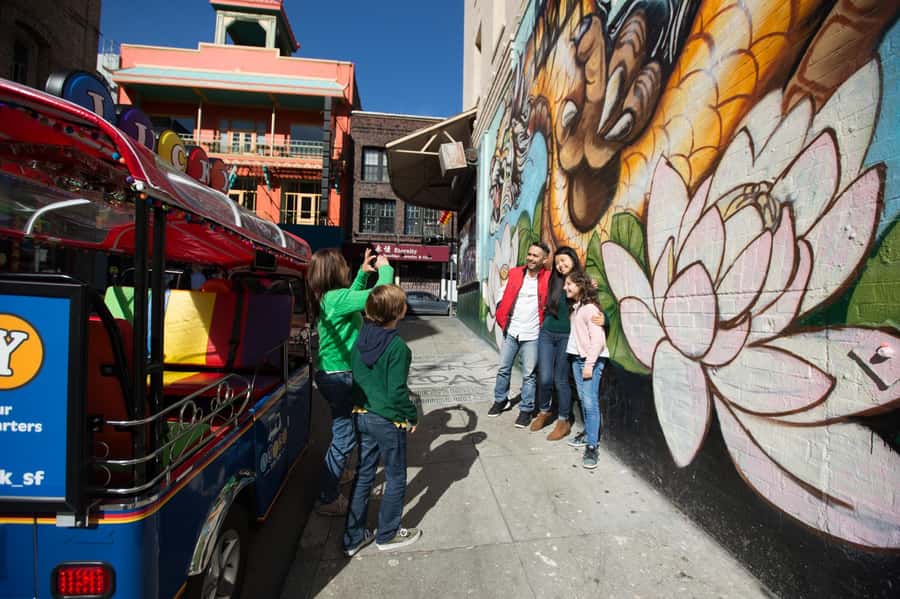
Starting at Fisherman’s Wharf: the tour’s “west coast intro” moment
Most tours start at 2870 Hyde St, San Francisco, at the corner of Hyde and Jefferson in Fisherman’s Wharf. You’ll find the tuk-tuk on the Hyde Street side of the Argonaut Hotel in the White Zone, not at the hotel entrance.
I like this start point because it’s a visual reset. Fisherman’s Wharf is busy and unmistakable, which makes it easier for your guide to set the stage. From here, the tour tends to point you toward the kinds of views San Francisco is famous for, including epic perspectives connected to the Golden Gate Bridge and the bay.
Expect quick photo stops around the harbor area. The route also calls out Dungeness crab stands and the working-feel of the fishing harbors. Even if you’re not there for seafood, it helps you understand what this neighborhood is: not just postcards, but a working waterfront.
Wharf stop reality check
Your time at each stop is limited by the tour format and traffic. That’s not a flaw; it’s how you get a large loop in a short window. If you’re hoping for long browsing time, plan that separately.
Hyde Street Pier and Maritime Park: where the city feels older
Next comes a shift toward history and ships. You’ll pass through or near Hyde Street Pier, plus Maritime Park and historic ships. This is the kind of stop where a guide’s context really helps, because it’s easy to treat it as background scenery.
What I like about this segment is that it breaks up the typical “just drive and photograph” flow. It gives your eyes a different texture: waterfront details, old-school ship architecture, and bay light that looks great in photos.
One consideration: if fog rolls in, bay views can soften. That can sound like bad news, but in San Francisco it often turns the scenery into something moody and photo-friendly. The bigger issue is timing, since the tour runs in fog and light rain.
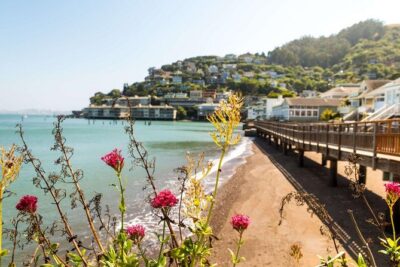
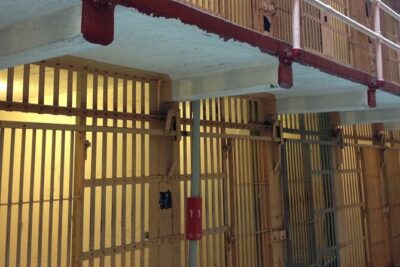
Marina Green and the Alcatraz + bay angle
As you move along the Marina Green area, the tour leans into the “big picture” stuff. You’ll get views out toward Alcatraz Island and the wider San Francisco Bay.
This is the kind of photo moment that feels better from a vehicle than from a sidewalk. You can angle yourself for better lines of sight, and you’re not trying to fight crowds for a few seconds of vantage time.
I also like how this segment helps you connect neighborhoods to geography. The city can feel like a grid of sights until you see how they sit in relation to the bay and the bridge. Even if you’re not planning an Alcatraz day trip, this visual connection is useful.
Crissy Field for Golden Gate Bridge views
Next up is the Crissy Field area for Golden Gate Bridge views. This is one of the iconic “yes, that’s really it” moments. You’ll likely recognize the bridge immediately, but the framing from this waterfront zone makes it feel less like a picture and more like you’re standing beside the real thing.
From a practicality standpoint, this stop is also ideal for photos because it’s easy to stop without a long walk. The tuk-tuk makes it simpler to catch the best light and angle without overthinking your path on foot.
San Francisco tip: fog happens. If the bridge is partially obscured, treat it as a weather version of the city, not a failure. A good guide will still help you find angles and create good photo moments regardless of visibility.
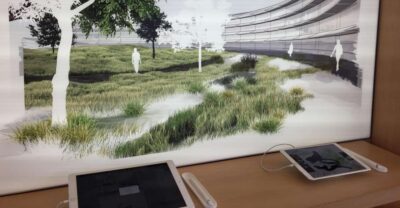
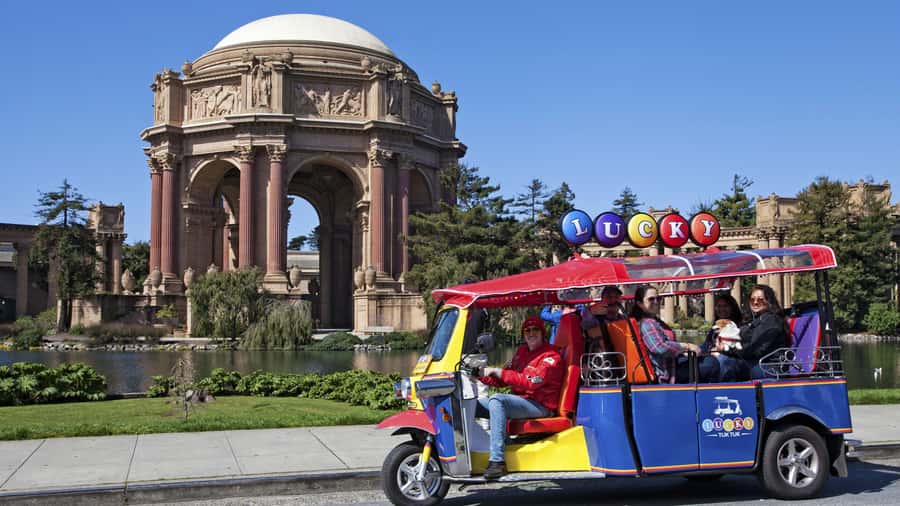
Palace of Fine Arts and the “pretty pause”
Then you get a change of pace at the Palace of Fine Arts. Even if you’ve seen it in photos, it looks different in person. It’s lighter, more graceful, and it gives your camera a break from the sharp edges of downtown.
This stop is also a breather. After waterfront and bridge views, it’s nice to move through a quieter visual space. You’ll get your chance to pause for photos before the tour heads toward more urban landmarks.
If you’re photographing, hold onto your jacket and sunglasses. Even on colder days, the bay can produce bright glare when clouds break.
Marina district to the grand civic buildings
The tour then swings through the Marina district and heads into downtown with several major landmarks on deck. You’ll cover City Hall, Davies Symphony Hall, War Memorial Opera House, and the Asian Art Museum area.
This part of the tour is where live commentary helps most. It’s one thing to point at impressive buildings; it’s another to understand why they matter and how they fit the city’s identity. You’ll get context while you pass through, so you’re not just collecting photos.
Practical note: downtown roads can get busy. That’s why the tour format includes a mix of pass-by visuals and photo stops rather than expecting you to park and wander for long.
Union Square: quick, central, and useful

Next comes Union Square, the classic central hub. It’s not the quietest neighborhood, but it’s a useful point on an orientation tour because it anchors you on a map. From here, you can easily understand how the city’s shopping core connects to streets, transit, and nearby sights.
For photos, you’ll get a quick look and then move on. For learning, your guide can point out how the grid and hill layout shape what you’ll see next.
Chinatown and Dragon’s Gate: color, alleys, and sensory cues
Then you shift into Chinatown, including a photo opportunity around Dragon’s Gate. This is one of those neighborhoods where a vehicle can sound like it would spoil the experience, but the tuk-tuk approach actually helps. You can get close without getting stuck in foot-traffic bottlenecks.
The tour also references the Jackson Square historic district, plus the Chinatown alley experience. Even in a short time, it helps you understand the scale and the vibe. Smells and signage do a lot of the work here, so you’ll get that “I’m actually in the neighborhood” feeling, not just a scenic drive.
If you’re the kind of person who likes to plan a longer Chinatown walk later, this segment is a perfect preview.
Downtown skyline moments: Transamerica to the Financial District
As the tour heads through the Financial District, you’ll see major skyline landmarks including the Transamerica Pyramid and Embarcadero Center. This is the “big city” contrast to Chinatown and the waterfront neighborhoods.
I find this segment valuable because it helps you understand the city’s layering. San Francisco isn’t just coastal views. It has a distinct downtown identity too, and the tuk-tuk route makes it easy to spot the contrast in just a few turns.
This is also a great time for photos with a wide lens. Even if you don’t have fancy gear, the tuk-tuk’s vantage and stop timing makes skyline shots more manageable.
Ferry Building and the Embarcadero: food, ferries, and main-street energy
You’ll continue along the Embarcadero, including the area by the Ferry Building. This waterfront promenade is one of the most photogenic corridors in the city, and it connects you to the idea of San Francisco as a port.
Expect recognizable scenes: the bay walkway energy, the working vibe, and classic views that line up with bridge and water angles. If you’re hungry, this is the sort of place where you can decide what you want next without needing to plan from scratch.
Exploratorium and the cruise ship terminal area
The tour also covers the Exploratorium area and the cruise ship terminal. This part of the city feels like the crossroads between visitors and locals, with a constant rhythm of boats, buses, and bay air.
Even if you don’t visit the Exploratorium, passing through helps you map what’s around it. It also adds a practical angle for planning, especially if you’re scheduling other activities on the same day.
Broadway Street and the tunnel: the ride gets more playful
Next comes Broadway Street and the tunnel. This is a fun transition segment because it breaks the pattern of straight shots and standard landmarks. The streets feel different, and the driving style gives you a sense of how the city moves through its terrain.
I like these moments because they keep the tour from becoming a long list of names. Your guide’s commentary can connect street design to real city life, which helps you remember what you saw instead of just clocking photos.
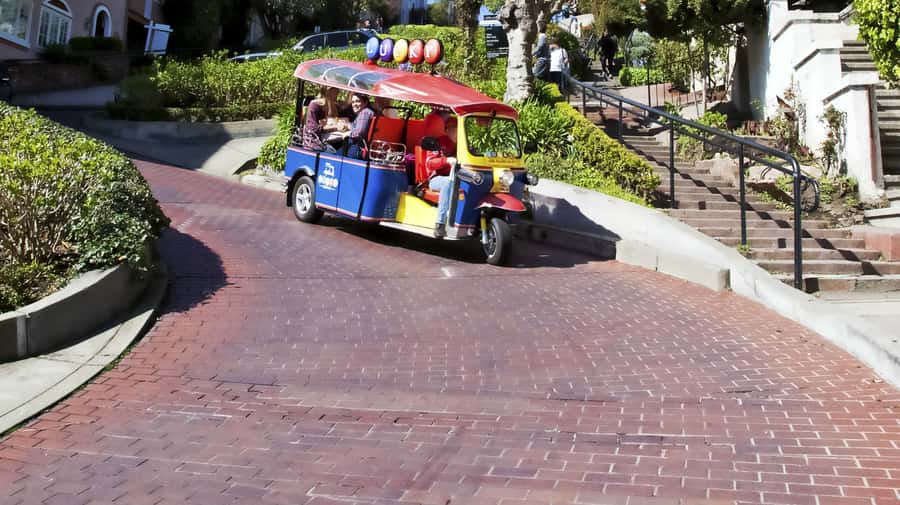
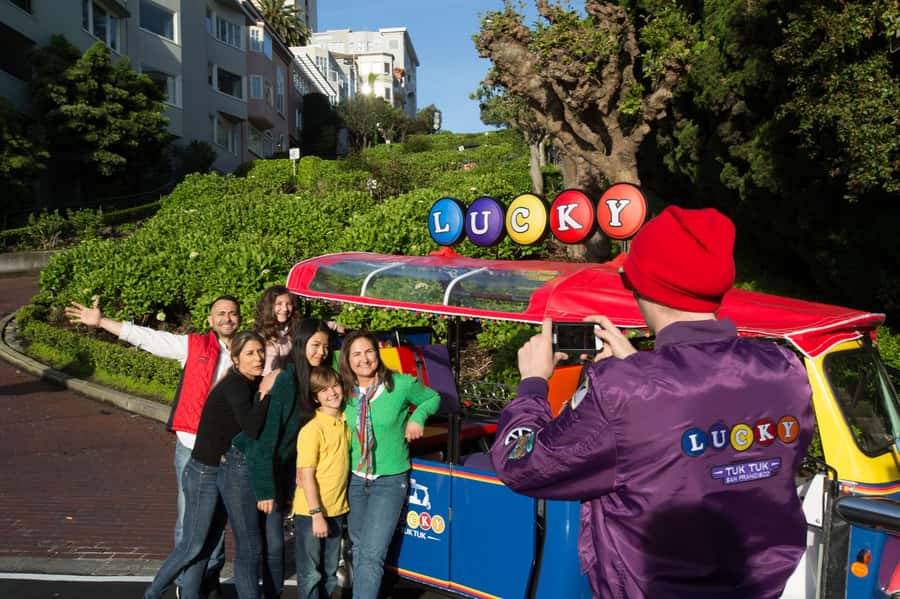
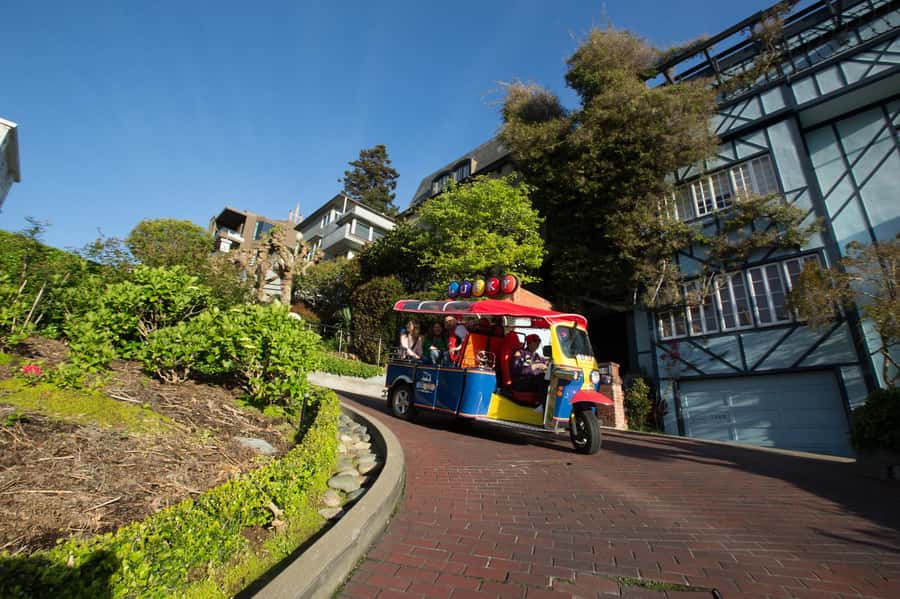
Lombard Street: the crooked street stop (traffic dependent)
Then you get to Lombard Street, the famous crooked street. The tour notes this is dependent on traffic conditions, which is realistic. San Francisco has a way of slowing plans down, especially around photo-friendly attractions.
If Lombard is part of your day, it’s worth it because it gives you that instantly recognizable “yes, that one” spot. It also explains why the city’s hills are such a constant theme. You’ll see how design and terrain create the quirky reputation.
If traffic won’t allow the stop, you’ll still get the bigger tour arc. In other words, one missed photo angle doesn’t ruin the overall experience.
North Beach, Little Italy, and Washington Square Park
Moving north, you’ll hit North Beach Little Italy and Washington Square Park. This area is famous for its character, and it’s a great contrast to the downtown skyline you just saw.
A vehicle ride helps here too because you’re bouncing between streets without having to do the steep climb on foot. You can catch key visuals and then decide if you want to linger later on your own.
Coit Tower and Telegraph Hill: classic views and a good final anchor
Next comes Coit Tower and Telegraph Hill. This is one of those locations where the city’s layout becomes obvious. You can see how the neighborhoods stack and how viewpoints tie together.
If your tour timing includes clear visibility, it’s a strong capstone before you head back toward the waterfront again. If it’s foggy, you still get the tower silhouette vibe, which can look great in photos.
Back toward the waterfront: Pier 39 and Ferry Arch
You’ll end with waterfront scenes including Pier 39 and the Ferry Arch at Pier 41. This is a fitting finale. It circles you back to the working harbor mood and gives you a last batch of classic San Francisco photos.
I like end points like this because they’re easy to continue from. If you want dessert, a seafood meal, or just one more wander, you’re in a place where you can extend your day without major planning.
The guide factor: live commentary makes the difference
The biggest “quality multiplier” on this tour is the live guide. Reviews highlight that the guide isn’t just reading off facts. You’ll get personality, local stories, and practical context that helps you connect why each stop matters.
One guide named Joe comes up in feedback as personable and entertaining, and he has real knowledge and humor. On another day, you might meet a different guide, but the tour is structured around live English commentary, so you’re not stuck with only signage and guesswork.
This matters because it turns sightseeing into something you can actually use. When you later walk the city on your own, you’ll understand what you’re looking at and where it fits.
What I’d do differently to enjoy it even more
Bring an extra layer. Even if it’s warm inland, the bay can be cold and windy. Also bring sunglasses, but don’t count on them being useful the whole time if fog rolls in.
Keep your hands free if you can. Since personal items must be stored in your lap, avoid bringing bags that force you to fight for space. Warm blankets and heated seating help, but comfort starts with how you pack.
And if you want the most satisfying photos, treat photo stops like mini missions: pick your angle fast, shoot, then move on so everyone stays on schedule.
Who this tour is for
This tour is a good match if you want:
- A first-day orientation to San Francisco
- Easy hill viewing without renting a car or planning parking
- Photo-driven sightseeing with frequent, purposeful stops
- A private format where your guide can keep you moving efficiently
It may be a poor fit if you need:
- Wheelchair access, walkers, or strollers (not accommodated)
- Space for large luggage or bulky backpacks (not allowed; items must fit in your lap)
- A quiet, long hangout at one neighborhood (this is a moving loop)
Should you book the electric tuk-tuk city tour?
If you’re short on time and you want a smart, guided “greatest hits” loop, I’d book this. The mix of waterfront views, classic neighborhoods, and downtown landmarks is exactly what a first visit needs. Add heated comfort, warm blankets, and live commentary, and the value starts to make sense even at a higher per-group price.
Skip it only if you plan to spend your trip on slow, deep wandering and you don’t care about a timed route or photo stops. In that case, walking plus transit can fit better, but you’ll lose the comfort and efficiency of having a driver and guide handling the heavy lifting.
If you’re traveling with a small group and you want San Francisco to feel easy on day one, this is a strong bet.
FAQ
Where does the tour start and how do I find it?
The meeting point is 2870 Hyde St, San Francisco, at the corner of Hyde and Jefferson in Fisherman’s Wharf. Look for the tuk-tuk on the Hyde St side of the Argonaut Hotel in the White Zone, and do not wait at the hotel entrance.
How long is the private tour?
The duration is 2 to 3 hours.
What areas does the tour cover?
You’ll see sights including Fisherman’s Wharf, Dungeness crab stands, Hyde Street Pier and Maritime Park, Marina Green, Crissy Field, the Palace of Fine Arts, Marina district, City Hall area landmarks, Union Square, Chinatown (including Dragon’s Gate), Jackson Square, the Transamerica Pyramid and Financial District, Ferry Building and Embarcadero, Exploratorium and the cruise ship terminal area, Broadway Street and tunnel, Lombard Street, North Beach and Little Italy (Washington Square Park), Coit Tower and Telegraph Hill, Pier 39, and the Ferry Arch at Pier 41.
How many people fit in each tuk-tuk?
Private tours are limited to 5 adult riders per tuk-tuk, or 6 riders if the group includes children and adults.
What’s included in the price?
Transportation by tuk-tuk, a tour guide, heated seats and warm blankets, and photo stops are included.
Are museum or attraction entrance fees included?
No. Entrance to museums and attractions is not included.
What weather should I plan for?
Tours run in fog and light rain. Bring weather-appropriate clothing and an extra layer that’s wind-resistant.
What should I bring and wear?
Wear comfortable shoes and bring a windbreaker and jacket. Sunglasses can help, and you should dress for the weather since the tour is open-air.
What’s not allowed on the tour?
Pets, oversize luggage, baby strollers, smoking, and alcohol or drugs are not allowed. Luggage or large bags are not permitted.
Is this tour accessible for wheelchairs or walkers?
Wheelchairs, walkers, luggage, and strollers cannot be accommodated. Personal items must be stored in your lap.